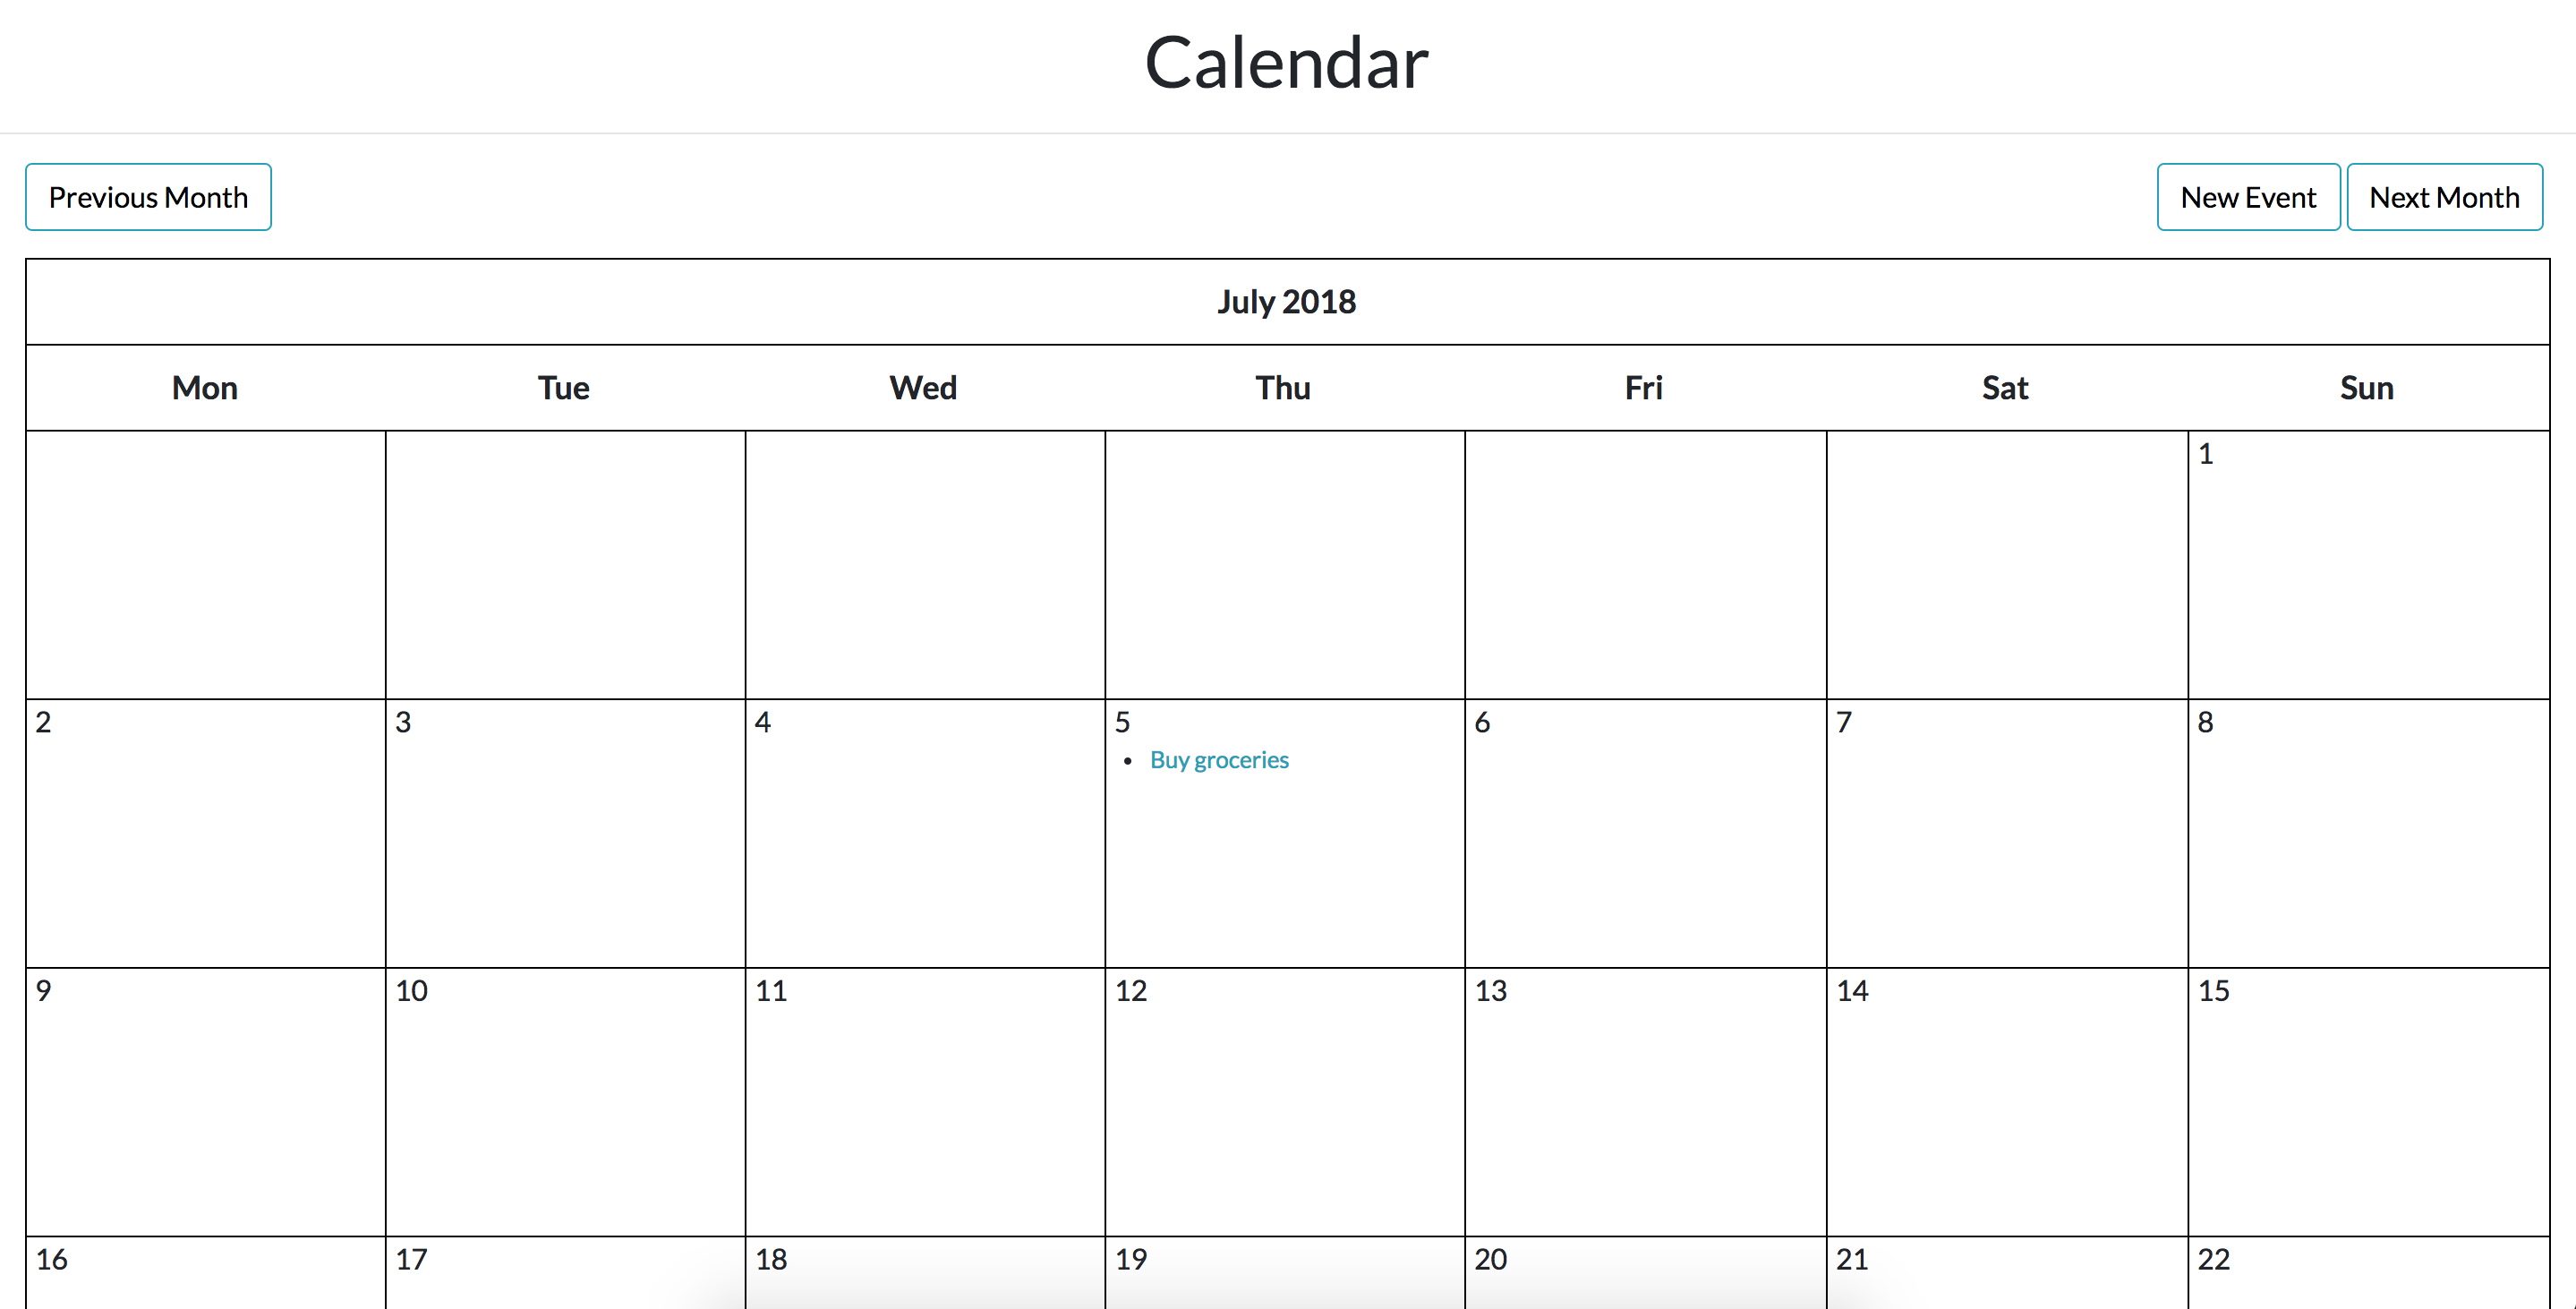
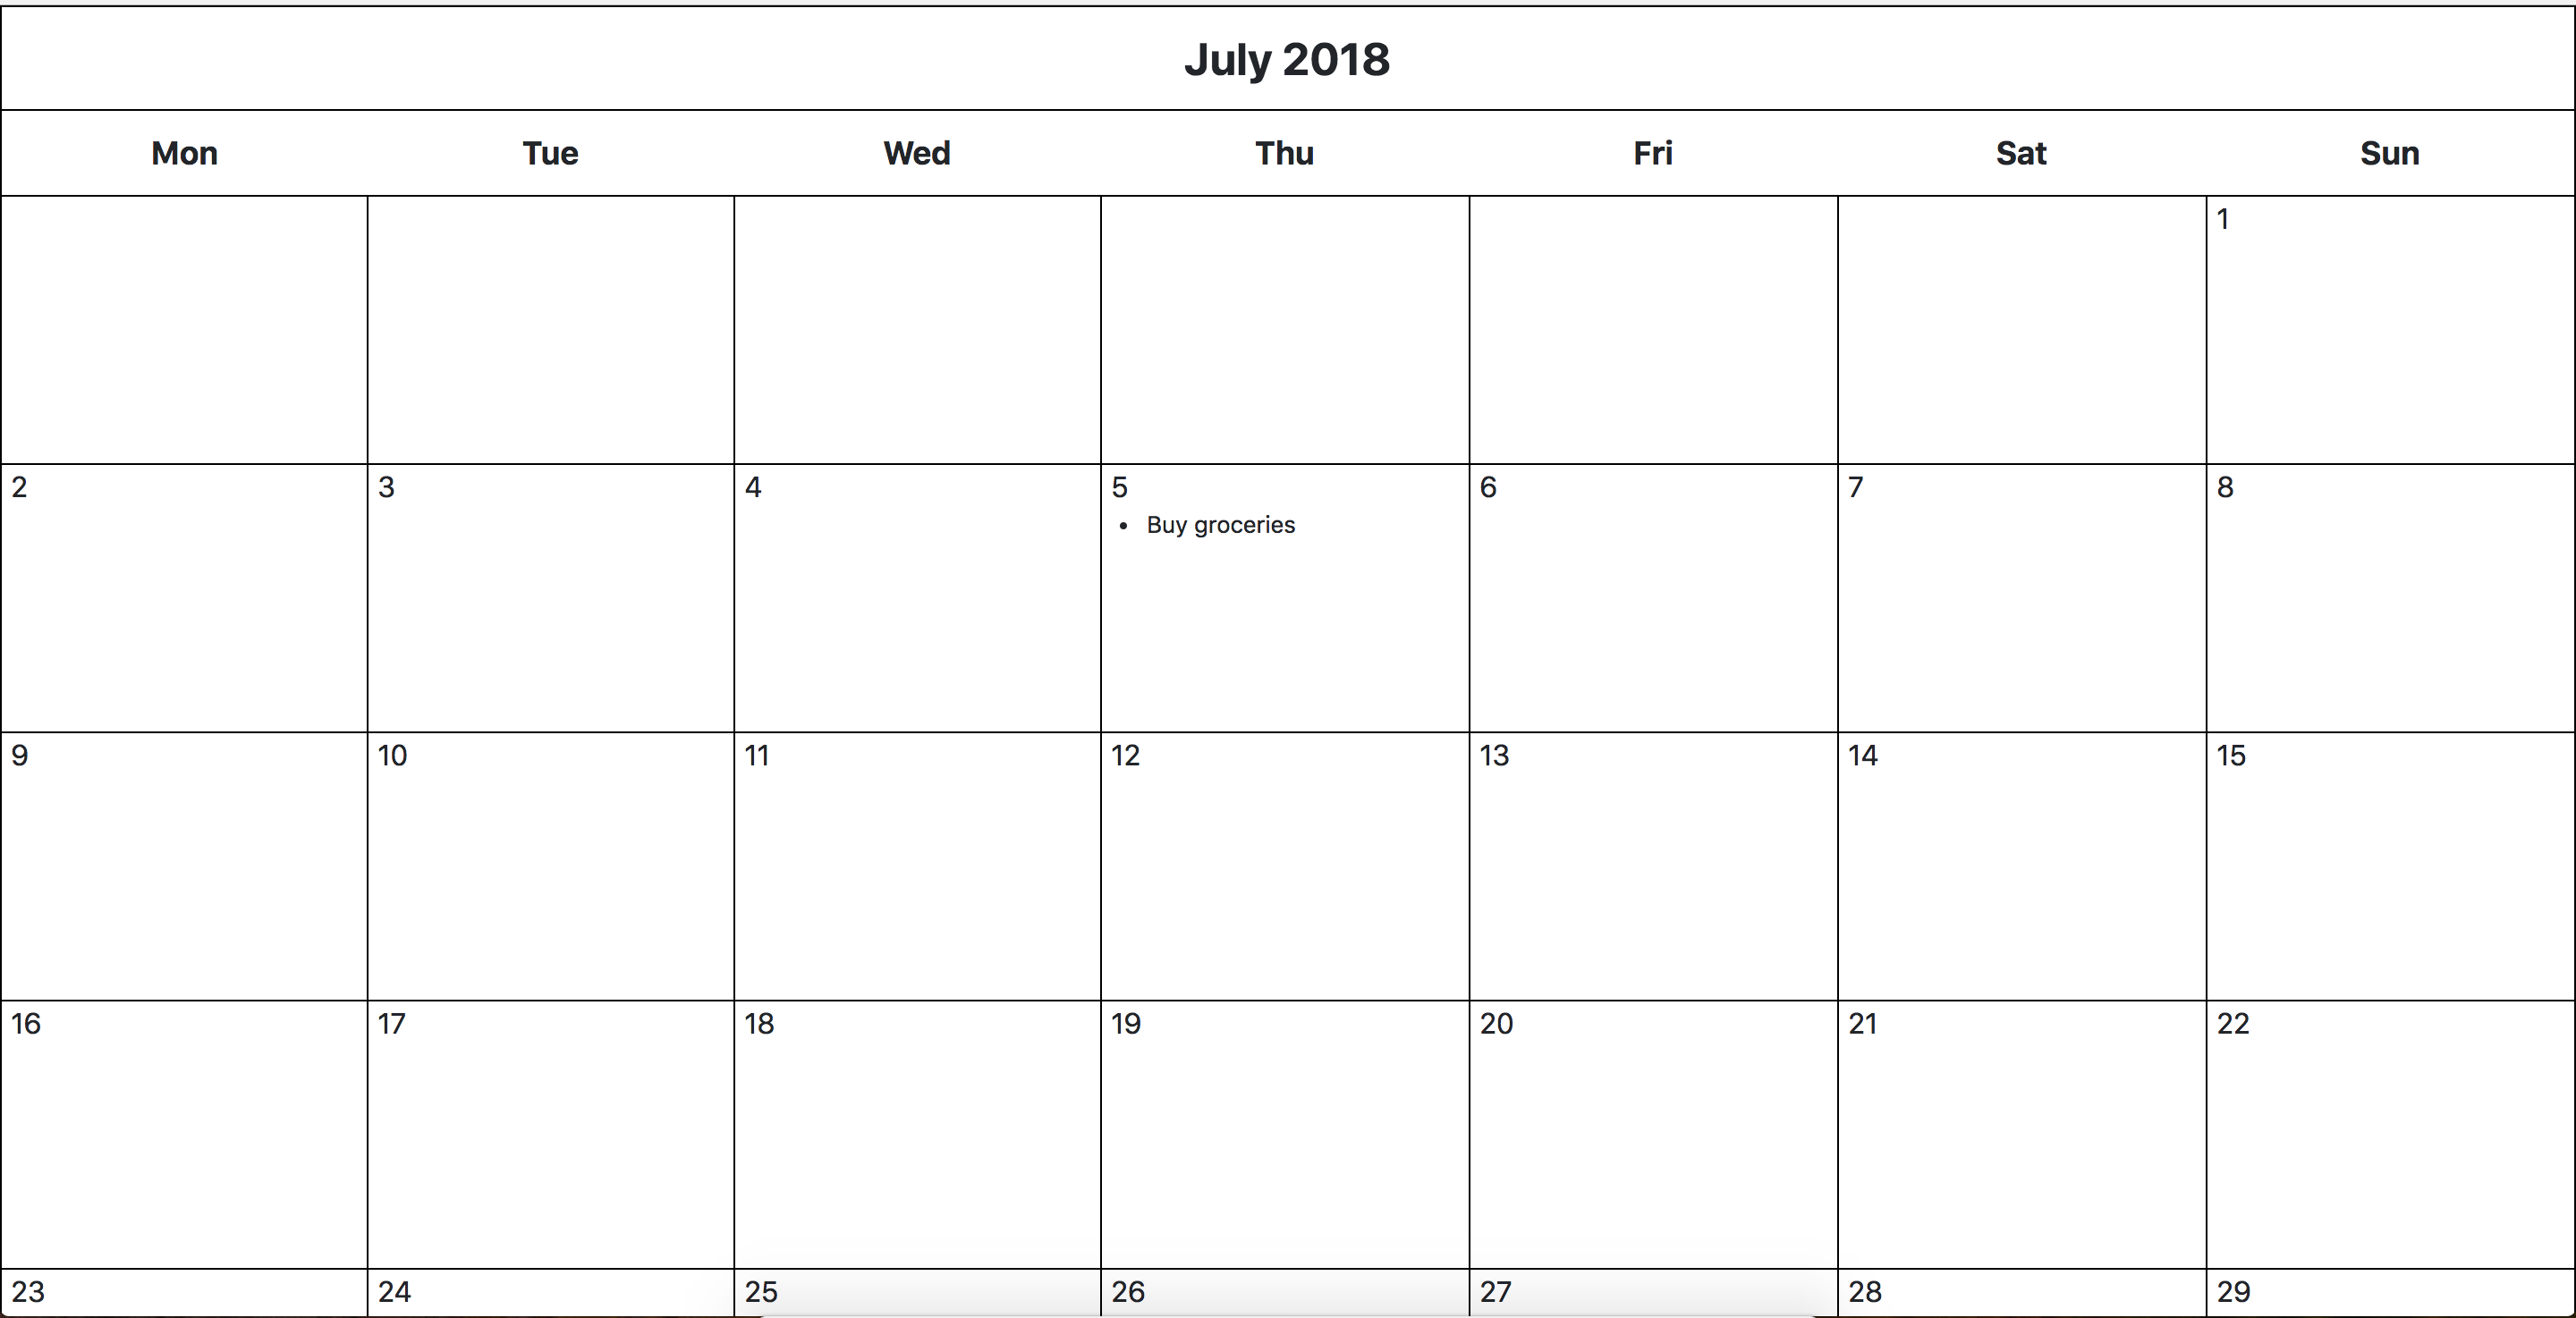
End result:
Setup
Install virtualenv and django
virtualenv env
source env/bin/activate
pip3 install django

# this stores all the python packages you installed into a requirements.txt file
pip3 freeze > requirements.txt

# create django project
django-admin startproject djangocalendar

# start server to check that our app is running at localhost:8000
python3 manage.py runserver
Create the calendar app
python3 manage.py startapp cal
In cal/views.py, create a index view:
# cal/views.py

from django.shortcuts import render
from django.http import HttpResponse

# Create your views here.

def index(request):
    return HttpResponse('hello')
and in cal/urls.py, add the view we just created:
# cal/urls.py

from django.conf.urls import url
from . import views

app_name = 'cal'
urlpatterns = [
    url(r'^index/$', views.index, name='index'),
]
To make the cal app work, we need to include the urls specified there in the djangocalendar/urls.py file:
# djangocalendar/urls.py

from django.contrib import admin
from django.urls import path, include

urlpatterns = [
    path('admin/', admin.site.urls),
    path('', include('cal.urls')),
]
Run migration and start server to check things are running fine:
python3 manage.py migrate
python3 manage.py runserver
Here comes the fun part! In a calendar app, we would want to see our events for the day, what time does it start, end and what the event is about. We can start by declaring the Event model in cal/models.py:
# cal/models.py

from django.db import models

class Event(models.Model):
    title = models.CharField(max_length=200)
    description = models.TextField()
    start_time = models.DateTimeField()
    end_time = models.DateTimeField()
This means that an event needs to have a title (not more than 200 chars in length), a description field, start time and end time. We then register it in cal/admin.py so that we can add events through the admin interface:
# cal/admin.py

from django.contrib import admin
from cal.models import Event

admin.site.register(Event)
To access the admin interface, we need to create a superuser:
python manage.py createsuperuser
Follow the prompts and when you’re done, head on to http://localhost:8000/admin/. Try adding an event to see what happens!
Now that we’ve got the event model set up, let’s jump into creating the calendar. We will be inheriting the HTMLCalendar class in Python in cal/utils.py. What this means is that our Calendar class will have all of HTMLCalendar’s attributes and methods, but we can also override its methods if we want to.
For our calendar class, we override the formatday, formatweek and formatmonth methods:
# cal/utils.py

from datetime import datetime, timedelta
from calendar import HTMLCalendar
from .models import Event

class Calendar(HTMLCalendar):
	def __init__(self, year=None, month=None):
		self.year = year
		self.month = month
		super(Calendar, self).__init__()

	# formats a day as a td
	# filter events by day
	def formatday(self, day, events):
		events_per_day = events.filter(start_time__day=day)
		d = ''
		for event in events_per_day:
			d += f'<li> {event.title} </li>'

		if day != 0:
			return f"<td><span class='date'>{day}</span><ul> {d} </ul></td>"
		return '<td></td>'

	# formats a week as a tr
	def formatweek(self, theweek, events):
		week = ''
		for d, weekday in theweek:
			week += self.formatday(d, events)
		return f'<tr> {week} </tr>'

	# formats a month as a table
	# filter events by year and month
	def formatmonth(self, withyear=True):
		events = Event.objects.filter(start_time__year=self.year, start_time__month=self.month)

		cal = f'<table border="0" cellpadding="0" cellspacing="0" class="calendar">\n'
		cal += f'{self.formatmonthname(self.year, self.month, withyear=withyear)}\n'
		cal += f'{self.formatweekheader()}\n'
		for week in self.monthdays2calendar(self.year, self.month):
			cal += f'{self.formatweek(week, events)}\n'
		return cal
We can then use the Calendar class that we created in cal/views.py:
# cal/views.py

from datetime import datetime
from django.shortcuts import render
from django.http import HttpResponse
from django.views import generic
from django.utils.safestring import mark_safe

from .models import *
from .utils import Calendar

class CalendarView(generic.ListView):
    model = Event
    template_name = 'cal/calendar.html'

    def get_context_data(self, **kwargs):
        context = super().get_context_data(**kwargs)

        # use today's date for the calendar
        d = get_date(self.request.GET.get('day', None))

        # Instantiate our calendar class with today's year and date
        cal = Calendar(d.year, d.month)

        # Call the formatmonth method, which returns our calendar as a table
        html_cal = cal.formatmonth(withyear=True)
        context['calendar'] = mark_safe(html_cal)
        return context

def get_date(req_day):
    if req_day:
        year, month = (int(x) for x in req_day.split('-'))
        return date(year, month, day=1)
    return datetime.today()
Note that we’re calling the formatmonth method in Calendar class. This returns us a calendar month as a table in html. We can then use this calendar variable in our templates. First, create a base template in cal/templates/cal/base.html:
<!-- cal/templates/cal/base.html -->

{'% load staticfiles %}
<!doctype html>
<html lang="en">

<head>
  <!-- Required meta tags -->
  <meta charset="utf-8">
  <meta name="viewport" content="width=device-width, initial-scale=1, shrink-to-fit=no">
  <!-- Bootstrap CSS -->
  <link rel="stylesheet" href="https://maxcdn.bootstrapcdn.com/bootstrap/4.0.0/css/bootstrap.min.css">
  <link rel="stylesheet" href="https://use.fontawesome.com/releases/v5.0.10/css/all.css">
  <link rel="stylesheet" type="text/css" href="{'% static 'cal/css/styles.css' %}">
  <title>Django Calendar App</title>
</head>
<body>

  {'% block content %}
  {'% endblock %}

  <!-- Optional JavaScript -->
  <!-- jQuery first, then Popper.js, then Bootstrap JS -->
  <script src="https://code.jquery.com/jquery-3.2.1.slim.min.js" integrity="sha384-KJ3o2DKtIkvYIK3UENzmM7KCkRr/rE9/Qpg6aAZGJwFDMVNA/GpGFF93hXpG5KkN"
    crossorigin="anonymous"></script>
  <script src="https://cdnjs.cloudflare.com/ajax/libs/popper.js/1.12.9/umd/popper.min.js" integrity="sha384-ApNbgh9B+Y1QKtv3Rn7W3mgPxhU9K/ScQsAP7hUibX39j7fakFPskvXusvfa0b4Q"
    crossorigin="anonymous"></script>
  <script src="https://maxcdn.bootstrapcdn.com/bootstrap/4.0.0/js/bootstrap.min.js" integrity="sha384-JZR6Spejh4U02d8jOt6vLEHfe/JQGiRRSQQxSfFWpi1MquVdAyjUar5+76PVCmYl"
    crossorigin="anonymous"></script>

  {'% block script %}
  {'% endblock %}
</body>
</html>
and in cal/templates/cal/calendar.html, we just need to extend base.html and render the calendar variable:
<!-- cal/templates/cal/calendar.html -->

{'% extends 'cal/base.html' %}

{'% block content %}
{'{ calendar }}
{'% endblock %}
We then add this view to cal/urls.py:
from django.conf.urls import url
from . import views

app_name = 'cal'
urlpatterns = [
    url(r'^index/$', views.index, name='index'),
    url(r'^calendar/$', views.CalendarView.as_view(), name='calendar'), # here
]
You should be able to view the calendar at http://localhost:8000/calendar/ now! For the last part, we add a little bit of css to make it a full blown calendar:
/* cal/static/cal/css/styles.css */

.calendar {
  width: 98%;
  margin: auto;
  font-size: 13px;
}

.calendar tr, .calendar td {
  border: 1px solid black;
}

.calendar th {
  padding: 10px;
  text-align: center;
  font-size: 18px;
}

.calendar td {
  width: 200px;
  height: 150px;
  padding: 20px 0px 0px 5px;
}

.month {
  font-size: 25px;
}

.date {
  font-size: 16px;
}

ul {
  height: 100%;
  padding: 0px 5px 0px 20px;
}

a {
  color: #17a2b8;
}
It should look something like this:
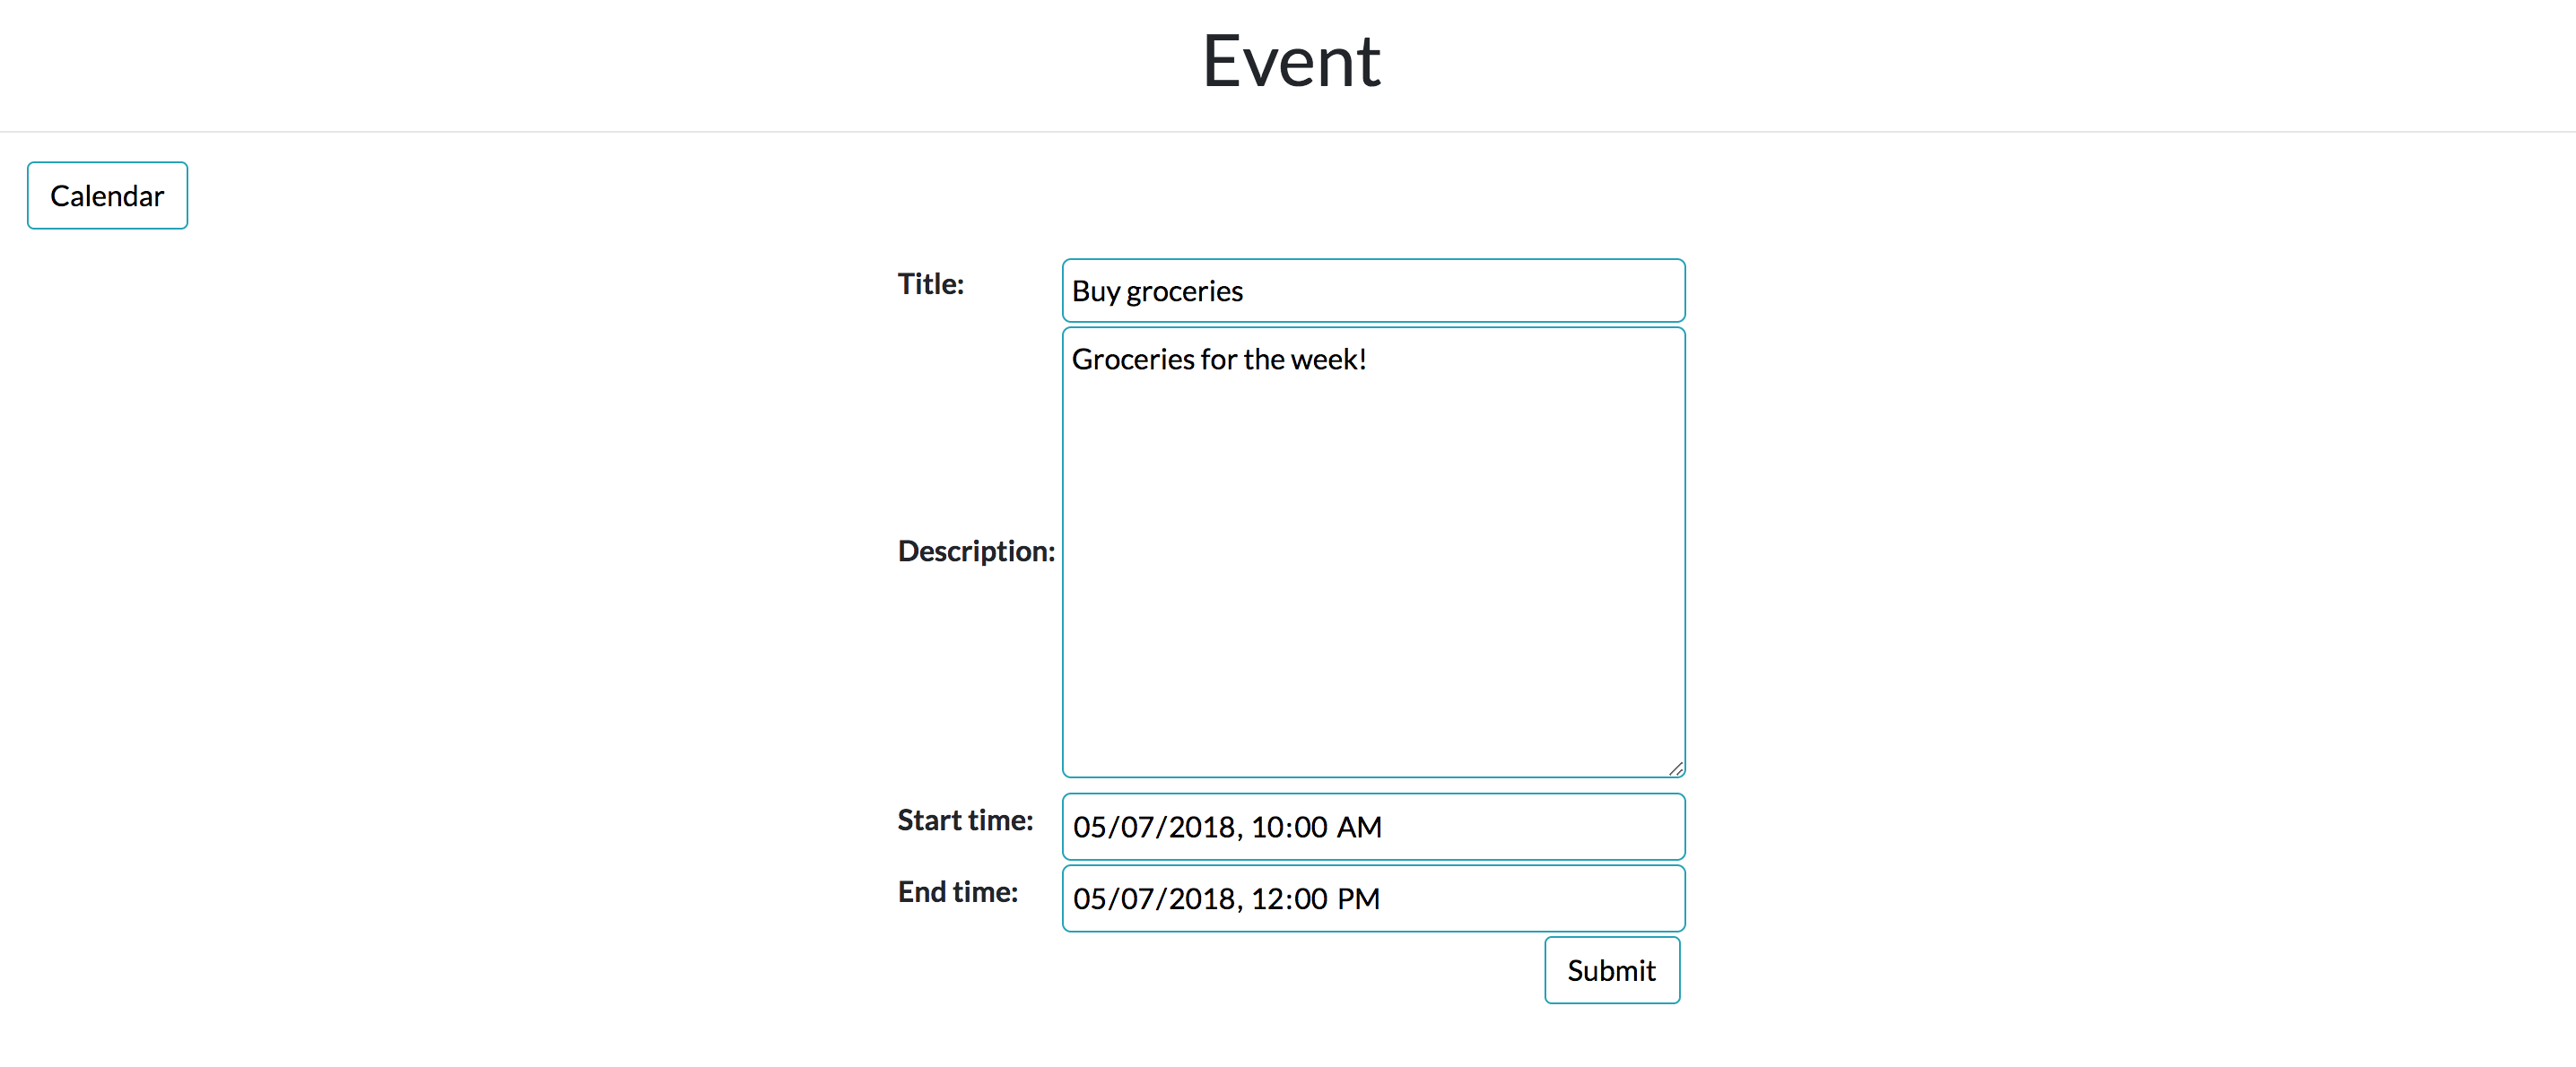
Head over to Django Calendar Part II for adding prev/next month button and for creating events through the app :)
♡, Hui Wen